
So... a couple weekends ago, I built a bookshelf for Kate's new room. I'll start off by saying, I don't think I really thought it through before it just happened. I looked high and low for the perfect shelving for her room.
So I started drawing and thinking. And next thing I knew I was at Lowe's on my lunch break, buying materials to build a shelf. When I told Brian, I could sense the SERIOUSLY in his voice.

The above is where I started, it evolved from there. I had no idea what I wanted to use to keep the books on the shelves but I figured something at Lowe's would speak to me. I looked for a metal element but failed and settled on wood.

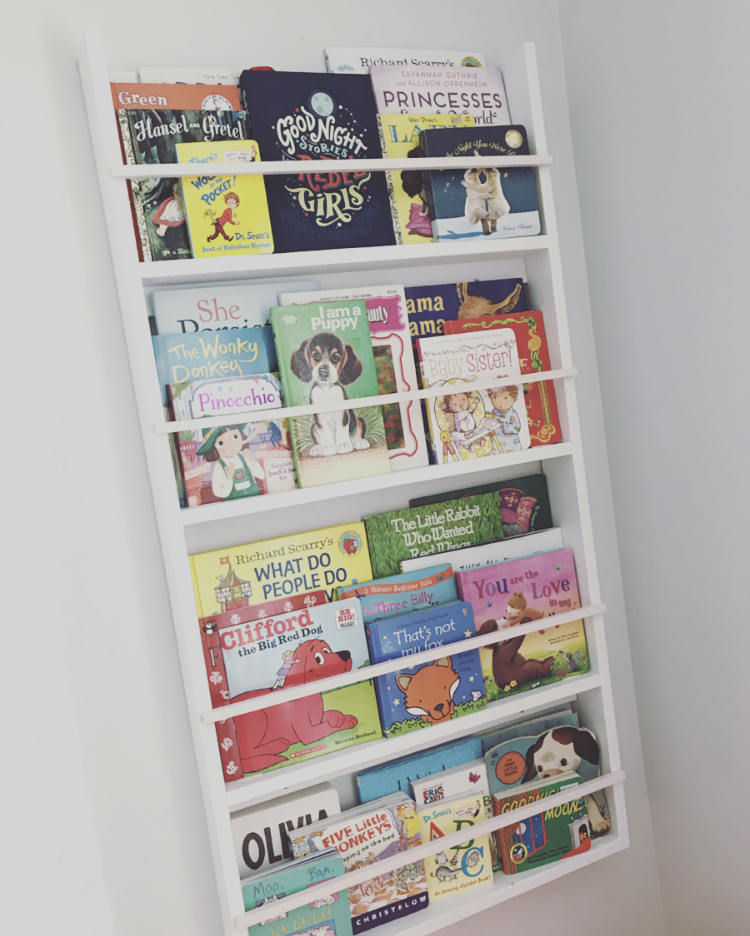
I used .75" molding to hold the books in. It's really hard to tell but I ended up painting the shelf white and the molding pieces a really pale pink. Just for a little something different :)

I went with the top being open just in case we come across some really tall books! Or some sort of decor that we wanted to showcase on the top shelf. I know she won't be able to reach it for sometime but she is well within reach of the bottom two! Which is good.. cause Kate LOVES to pull books off anything!!!
Once I studied my plan and measured... and measured again, it really was pretty simple. I cut all the wood (see instructions below) and started jigging (kreg jig) them together. I'm not a huge fan of wood glue, so I didn't use any. I feel like you get a really great hold from the pocket hole thing so it does the job. I ended up using kreg wood plugs so it would look a little better. Once I attached the shelves to the sides, I added the supports so that I could mount this to the wall-- I originally thought I would add 3 but went with 2, one under the top shelf and one under the bottom.
I had to do a little experimenting with the molding to hold the books in. I don't have a nail gun so I ended up splitting the wood the first time I tried. I ended up pre-drilling holes so the nail wouldn't split the wood. I used a larger nail to push the finishing nail in lower, covered with wood filler and then sanded before painting. You can't even tell a nail is there!
The worst part of the whole process was painting the darn thing. I hate painting. I DID leave off a sander on the tool list below-- make sure you sand this really good before painting!

I'm sure I left out some super important steps. Feel free to ask if so :)


I just drilled a screw right into the wall from the support. I keep saying I'm going to go over and paint it so it doesn't stick out. But out of 4-- this is the only one you can see once books are in place!

And there you go-- like I said, I'm sure I left some steps out or important details. It really was super easy and I'm sure Home Depot or Lowe's could even cut the wood for you to make it easier.
I am really happy with how this turned out. I didn't expect to like it this much. Figured it might be a temporary thing until I figured out what I reallllly wanted. But Kate loves sitting on her little "couch" and pointing or pulling down or reading her favorite books. Every morning when I get her out of bed, she hugs me and then immediately points to a book, usually the dog one and yells "DOG!" I love that she loves her books so much!!
Here's hoping I wrap up Kate's new room soon so I can show it ALLLLLL to you. I'm loving it! :) XOXO

No comments:
Post a Comment